Table of Contents
Microsoft Word on PC
In order to gain a better understanding of the importance of using inclusive language, please refer to the following Ithaca College Resources below:
Ithaca College Diversity, Equity and Inclusion Statement
Pronouns, Gender, Names - Center for LGBT Education, Outreach & Services
Below are the steps to include inclusive language proofing in the grammar check of Microsoft products:
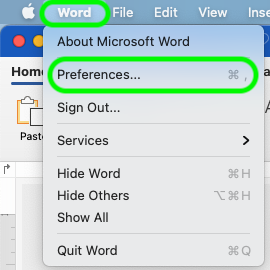
1. Click “Word” from the Mac menu bar
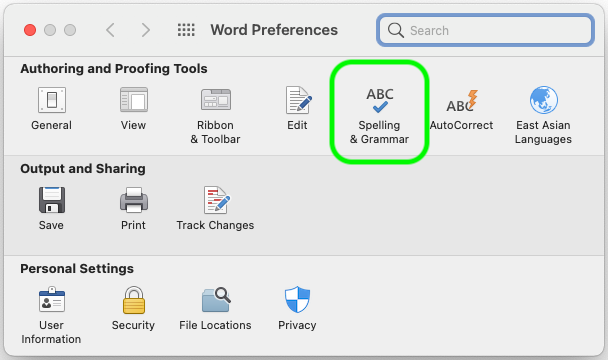
2. Click on “Spelling & Grammar”
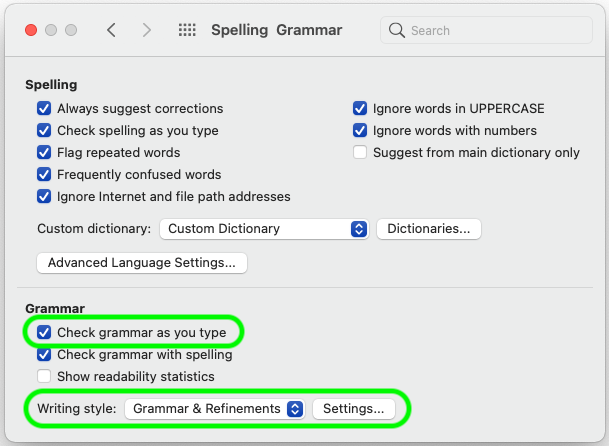
3. Under “Grammar” ensure “Check grammar as you type” is enabled, and then open the “Grammar & Refinements” settings
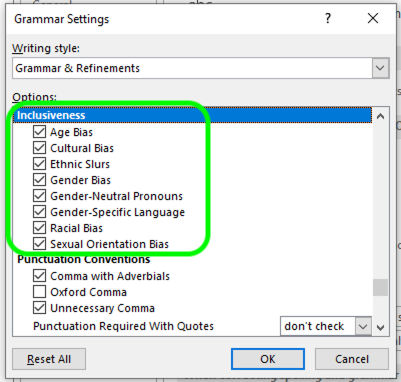
4. Scroll through the “Grammar and style options” list until you find the inclusive language settings (they are grouped together, but there is heading)
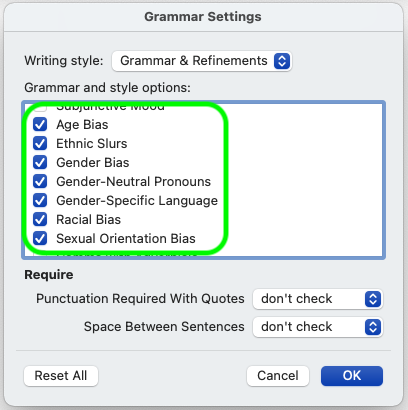
5. Be sure to select the following:
Age bias, Cultural bias, Ethnic Slurs, Gender Bias, Gender-Neutral Pronouns, Gender-Specific Language, Racial Bias, Sexual Orientation, and Socioeconomic Bias (not pictured above).
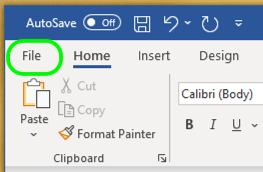
1. Click “File” at the top left of the Word screen.
2. Click “Options” at the bottom of the “File” menu.

3. Select “Proofing” on the left, enable “Mark grammar errors as you type," and then open the “Grammar & Refinements” settings.

4. Scroll down to the “Inclusiveness” section and enable the following: Age Bias, Cultural Bias, Ethnic Slurs, Gender Bias, Gender-Neutral Pronouns, Gender-Specific Language, Racial Bias, and Sexual Orientation Bias